How to Install Django on Rocky Linux 9
- Update Rocky Linux 9 using the command below.
sudo dnf update- Start by installing Python using the following command.
sudo dnf install python3 python3-pipSample output
Last metadata expiration check: 2:10:17 ago on Sat 23 Jul 2022 01:48:02 PM EAT.
Package python3-3.9.10-2.el9.x86_64 is already installed.
Dependencies resolved.
=====================================================================
 Package          Arch        Version           Repository      Size
=====================================================================
Installing:
 python3-pip      noarch      21.2.3-6.el9      appstream      1.7 M

Transaction Summary
=====================================================================
Install  1 Package

Total download size: 1.7 M
Installed size: 8.7 M
Is this ok [y/N]: y
Downloading Packages:
python3-pip-21.2.3-6.el9.noarch.rpm  501 kB/s | 1.7 MB     00:03
---------------------------------------------------------------------
Total                                373 kB/s | 1.7 MB     00:04
Running transaction check
Transaction check succeeded.
Running transaction test
Transaction test succeeded.
Running transaction
  Preparing        :                                             1/1
  Installing       : python3-pip-21.2.3-6.el9.noarch             1/1
  Running scriptlet: python3-pip-21.2.3-6.el9.noarch             1/1
  Verifying        : python3-pip-21.2.3-6.el9.noarch             1/1

Installed:
  python3-pip-21.2.3-6.el9.noarch

Complete!
- Check the version of Python installed.
python3 -V- Check the version of PIP installed.
pip3 -V- Next, install Django using the following command.
sudo pip3 install Django- Check the version of Django installed using the command below.
django-admin --versionCreate a sample Django app
- Start by copying the admin.
sudo cp /usr/local/bin/django-admin /usr/bin/- Navigate to
/optthe directory using the command below.
cd /opt- Then create the Django app using the following command, we will call the project itnixpro.
sudo django-admin startproject itnixpro- Next, change the directory to the one made for the project.
cd itnixpro- Migrate the changes using the command below.
sudo python3 manage.py migrateSample output
Operations to perform:
  Apply all migrations: admin, auth, contenttypes, sessions
Running migrations:
  Applying contenttypes.0001_initial... OK
  Applying auth.0001_initial... OK
  Applying admin.0001_initial... OK
  Applying admin.0002_logentry_remove_auto_add... OK
  Applying admin.0003_logentry_add_action_flag_choices... OK
  Applying contenttypes.0002_remove_content_type_name... OK
  Applying auth.0002_alter_permission_name_max_length... OK
  Applying auth.0003_alter_user_email_max_length... OK
  Applying auth.0004_alter_user_username_opts... OK
  Applying auth.0005_alter_user_last_login_null... OK
  Applying auth.0006_require_contenttypes_0002... OK
  Applying auth.0007_alter_validators_add_error_messages... OK
  Applying auth.0008_alter_user_username_max_length... OK
  Applying auth.0009_alter_user_last_name_max_length... OK
  Applying auth.0010_alter_group_name_max_length... OK
  Applying auth.0011_update_proxy_permissions... OK
  Applying auth.0012_alter_user_first_name_max_length... OK
  Applying sessions.0001_initial... OK
- Next, create an admin user using the following command.
sudo python3 manage.py createsuperuserSample output
Username (leave blank to use 'root'): admin
Email address: admin@itnixpro.com
Password:
Password (again):
Superuser created successfully.
- Configure the firewall for Django using the commands below.
sudo firewall-cmd --add-port=8000/tcp --zone=public --permanentsudo firewall-cmd --permanent --add-port=80/tcp- Then reload the firewall to apply changes.
sudo firewall-cmd --reload- Next, run the following command to configure SELinux.
sudo setsebool httpd_can_network_connect on -P- Add IP that will access the Django app in the settings file.
sudo nano /opt/itnixpro/itnixpro/settings.py- We will add [‘*’] to allow any IP in the allowed host, feel free to use specific IP. Save(ctrl+s) and close(ctrl+x) the file.
# SECURITY WARNING: don't run with debug turned on in production!
DEBUG = True

ALLOWED_HOSTS = ['*']


# Application definition
- Next, run the application using the commands below.
cd /opt/itnixprosudo python3 manage.py runserver 0.0.0.0:8000Sample output
Watching for file changes with StatReloader
Performing system checks...

System check identified no issues (0 silenced).
July 23, 2022 - 19:02:24
Django version 4.0.6, using settings 'itnixpro.settings'
Starting development server at http://0.0.0.0:8000/
Quit the server with CONTROL-C.
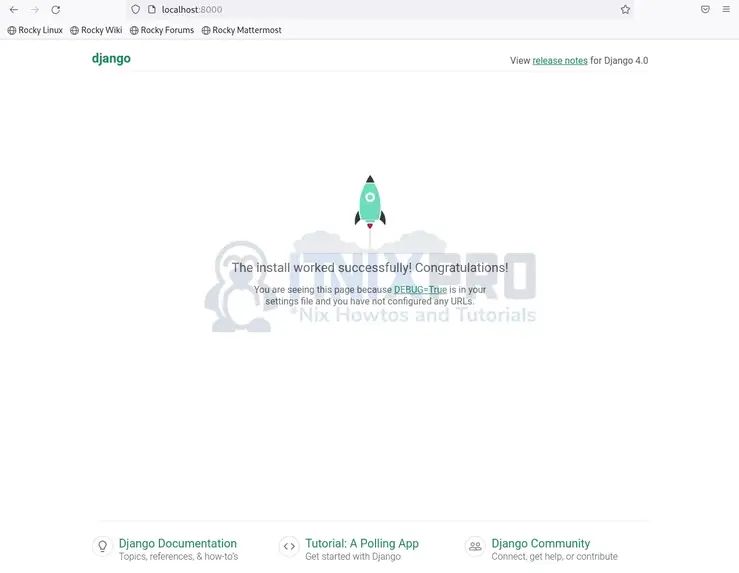
Django web interface
- Open your web browser and enter server IP or domain name followed by port 8000 e.g.
localhost:8000
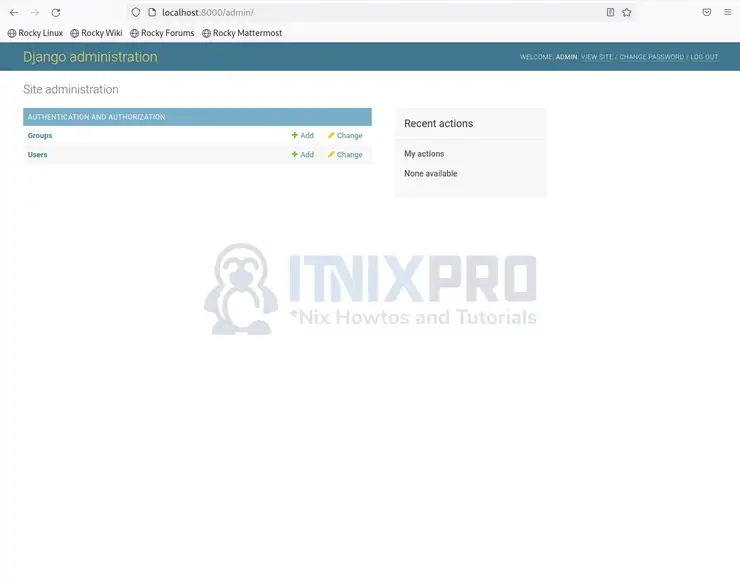
- To access the admin dashboard add slash admin e.g.
localhost:8000/admin

- Sample dashboard.
- You have reached the end of our article. We have gone through how to install Django on Rocky Linux 9.